«
一、准备Docker模板(docker-compose.yml)
services:
  openclaw-gateway:
    image: openeuler/openclaw:latest
    environment:
      HOME: /home/node
      TERM: xterm-256color
    volumes:
      - /root/openclaw/config:/home/node/.openclaw
      - /root/openclaw/workspace:/home/node/.openclaw/workspace
    ports:
      - "18789:18789"
      - "18790:18790"
    init: true
    restart: unless-stopped
    command:
      [
        "gateway",
        "--bind",
        "lan",
        "--port",
        "18789",
        "--verbose"
      ]
    healthcheck:
      test:
        [
          "CMD",
          "sh",
          "-lc",
          "wget -qO- http://127.0.0.1:18789/healthz >/dev/null 2>&1 || exit 1"
        ]
      interval: 30s
      timeout: 5s
      retries: 5
      start_period: 20s

  openclaw-cli:
    image: openeuler/openclaw:latest
    profiles: ["cli"]
    cap_drop:
      - NET_RAW
      - NET_ADMIN
    security_opt:
      - no-new-privileges:true
    environment:
      HOME: /home/node
      TERM: xterm-256color
      BROWSER: echo
      OPENCLAW_GATEWAY_URL: "ws://openclaw-gateway:18789"
    volumes:
      - /root/openclaw/config:/home/node/.openclaw
      - /root/openclaw/workspace:/home/node/.openclaw/workspace
    stdin_open: true
    tty: true
    init: true
    depends_on:
      - openclaw-gateway
    entrypoint: ["sh", "-lc"]
    command: ["sleep infinity"]
二、运行网关容器
docker compose up -d openclaw-gateway
三、运行客户端容器
docker compose --profile cli up -d openclaw-cli

##进入客户端容器
docker compose exec openclaw-cli sh

##初始化配置openclaw
openclaw onboard
四、修改网关配置文件(openclaw.json)
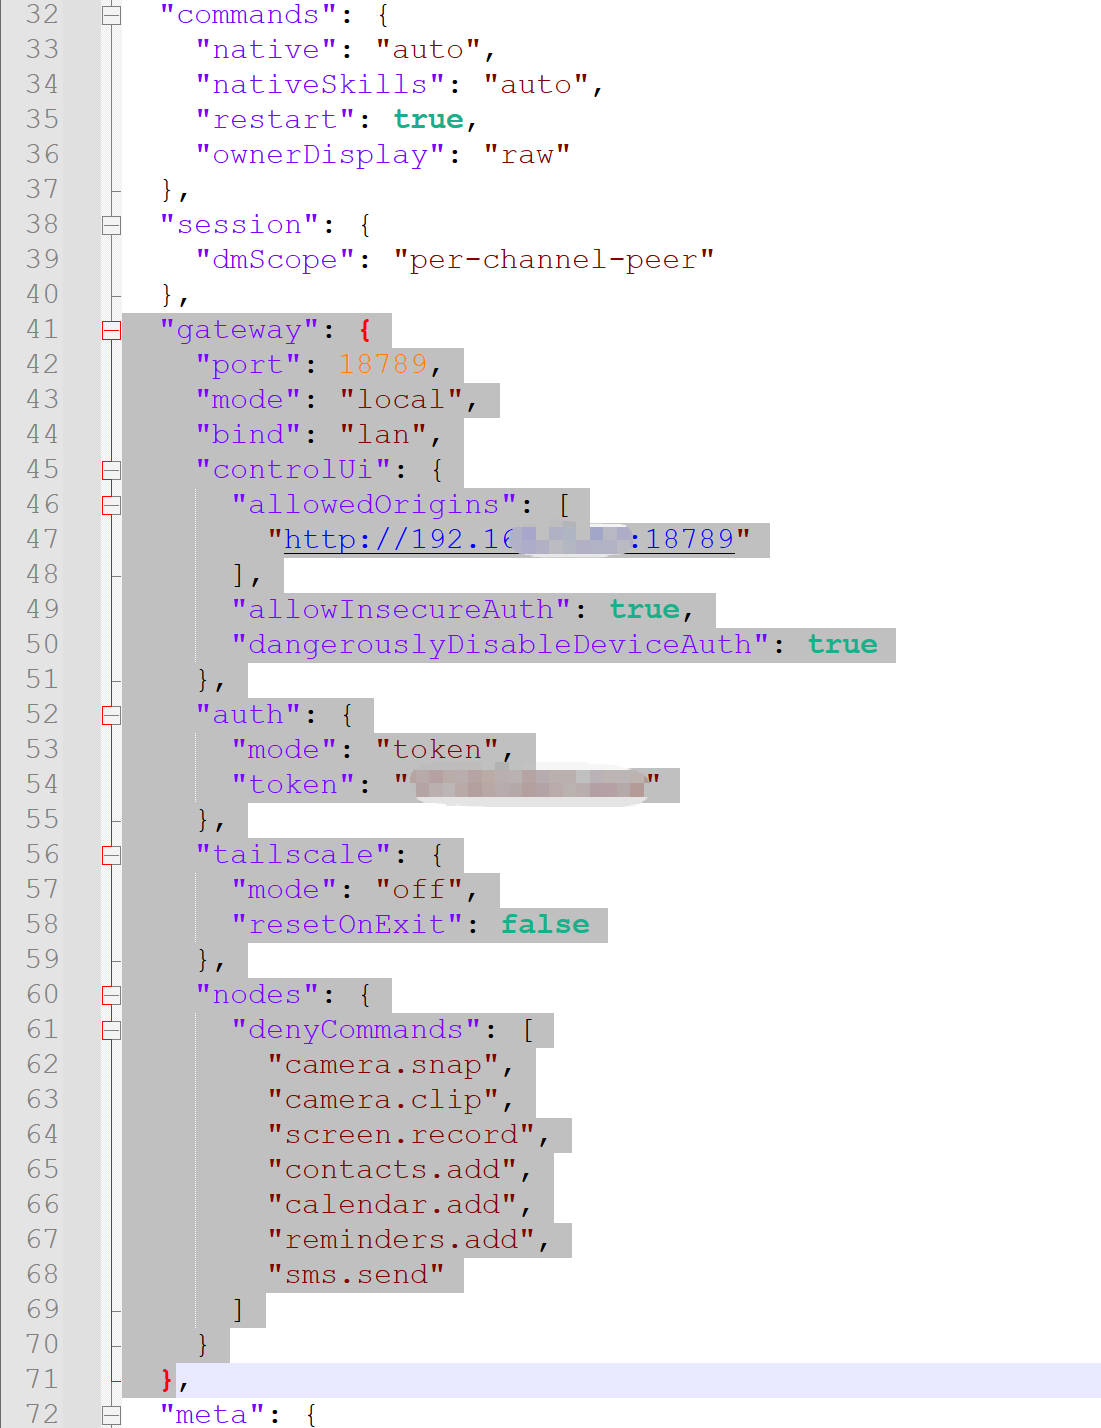
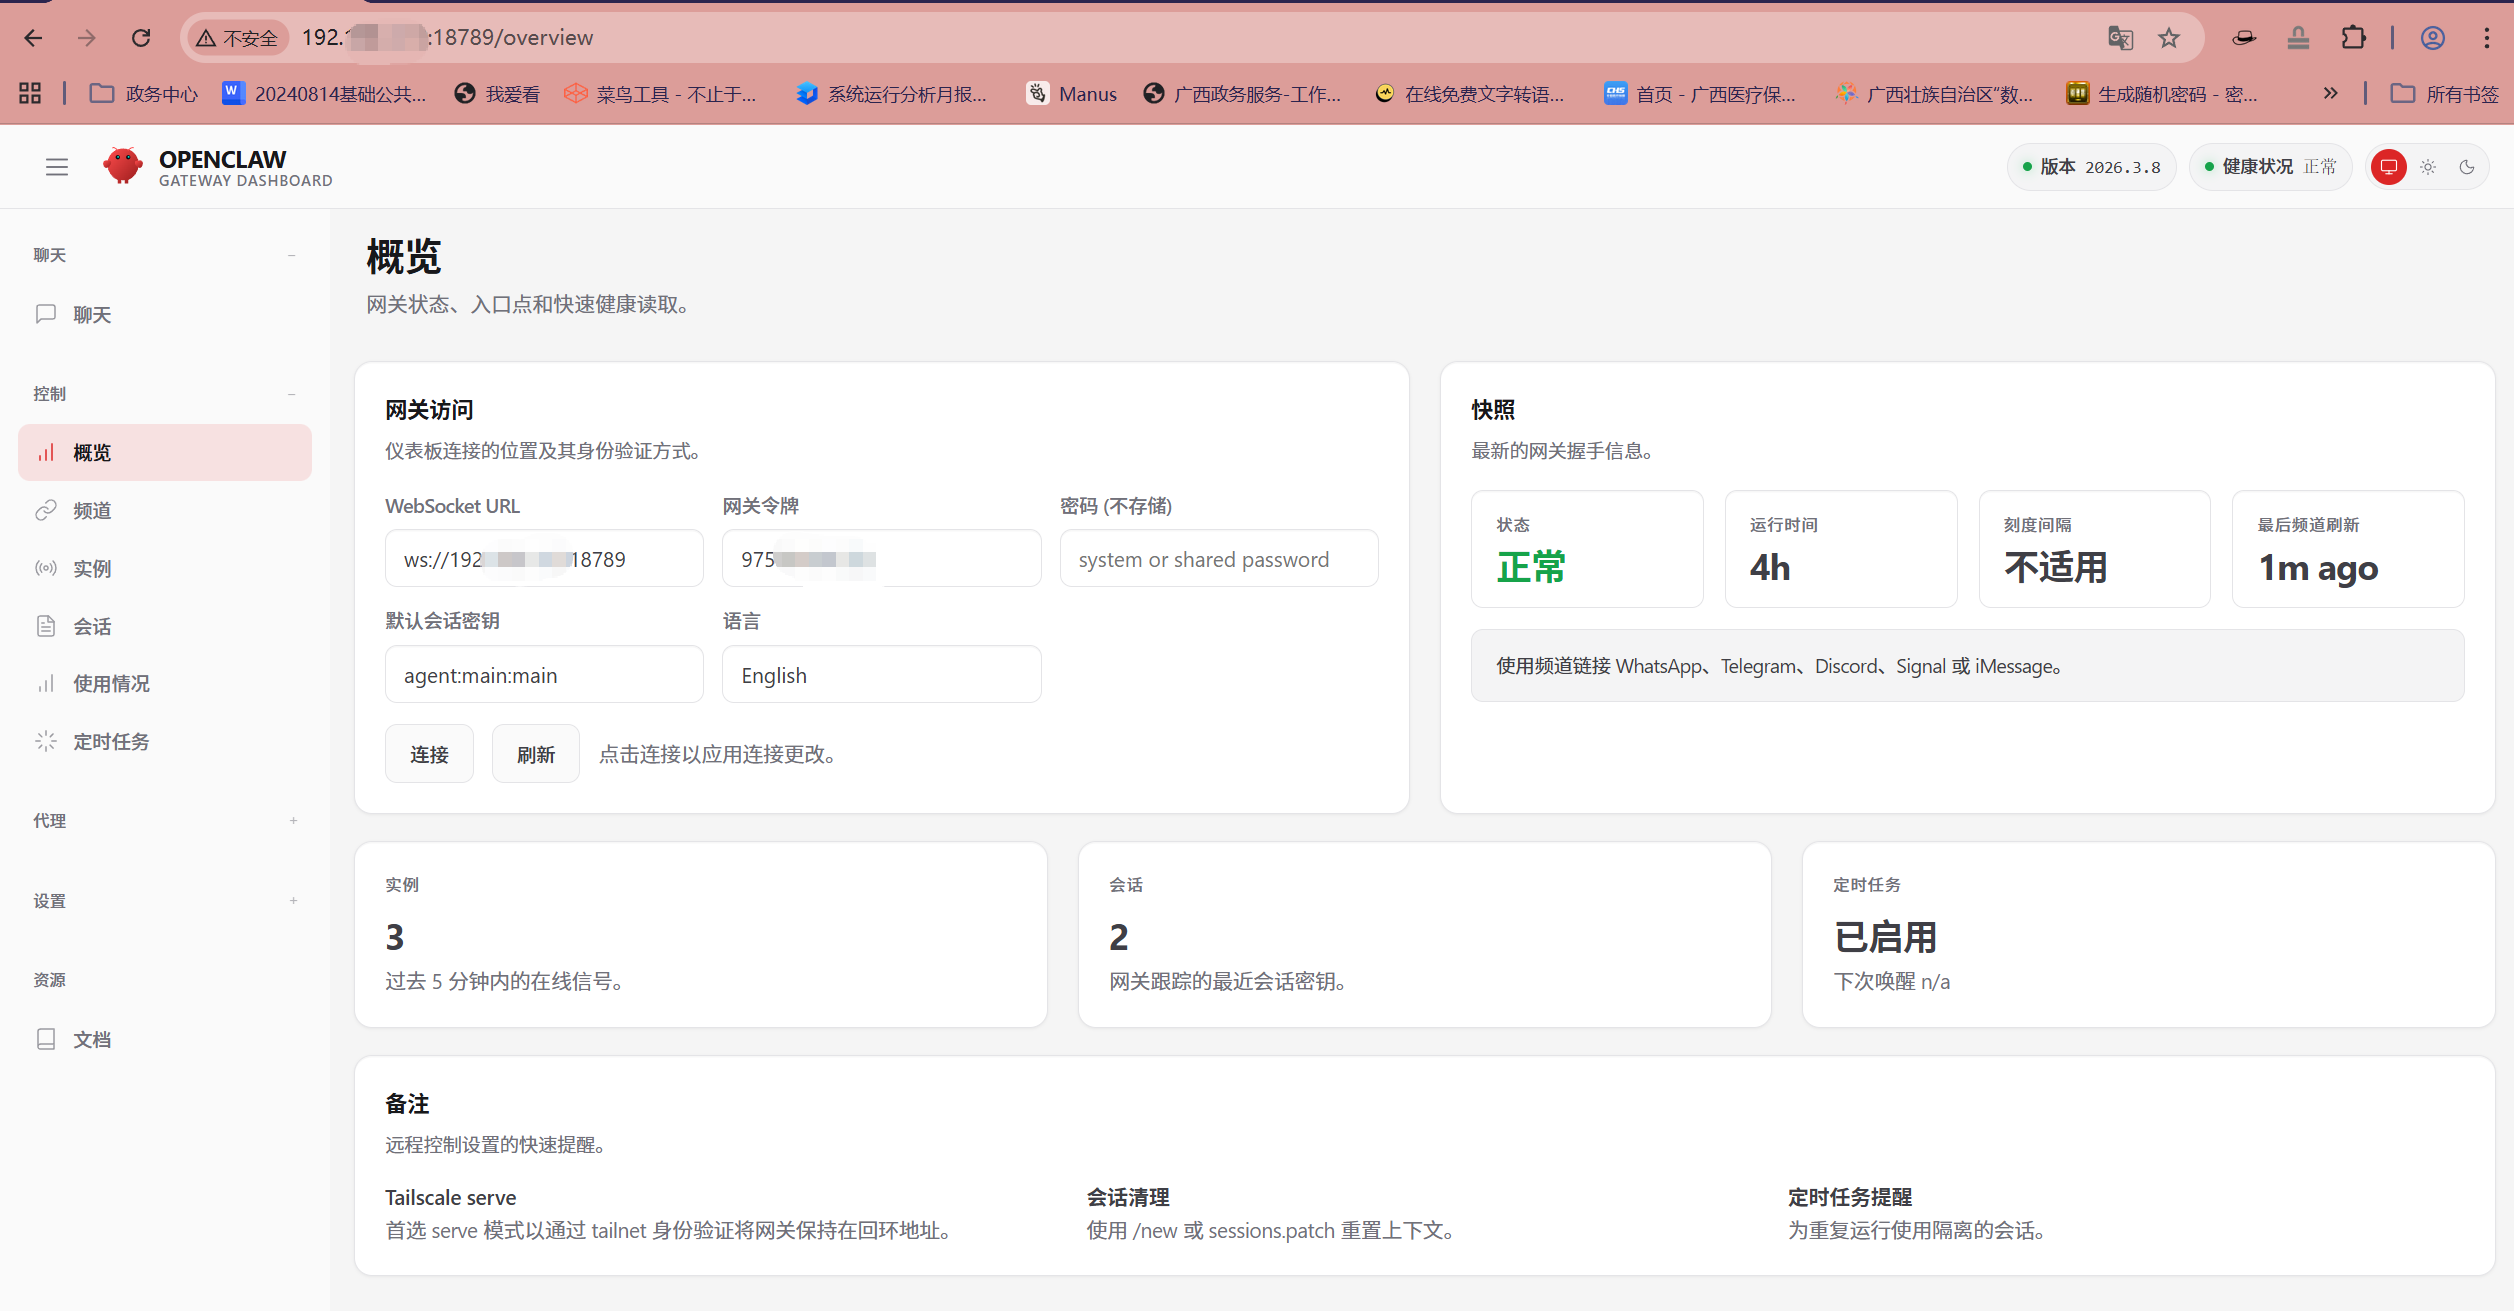
1、完成初始化配置后会生成一个配置文件openclaw.json,路径在宿主机目录映射下/root/openclaw/config/openclaw.json,需要修改该文件才能在其他设备上正常访问openclaw UI,打开文件找到"gateway"的配置内容,整段改成如下信息:
  "gateway": {
    "port": 18789,
    "mode": "local",
    "bind": "lan",
    "controlUi": {
      "allowedOrigins": [
        "http://容器所在的宿主机IP:18789"
      ],
      "allowInsecureAuth": true,
      "dangerouslyDisableDeviceAuth": true
    },
    "auth": {
      "mode": "token",
      "token": "123456"  #网关连接的认证秘钥
    },
    "tailscale": {
      "mode": "off",
      "resetOnExit": false
    },
    "nodes": {
      "denyCommands": [
        "camera.snap",
        "camera.clip",
        "screen.record",
        "contacts.add",
        "calendar.add",
        "reminders.add",
        "sms.send"
      ]
    }
  }
五、重启网关容器和客户端容器
docker compose restart openclaw-gateway
docker compose restart openclaw-cli
openclaw